Photoshop for Tattoo Design: Beginner's Guide & Stencils
Learn how to use Photoshop for tattoo design. Master layers, resolution, brush tools, and adjustment layers to create perfect stencils and digital sketches.
Photoshop for Tattoo Design
A Complete Beginner's Guide to Interface, Tools, and Perfect Stencils
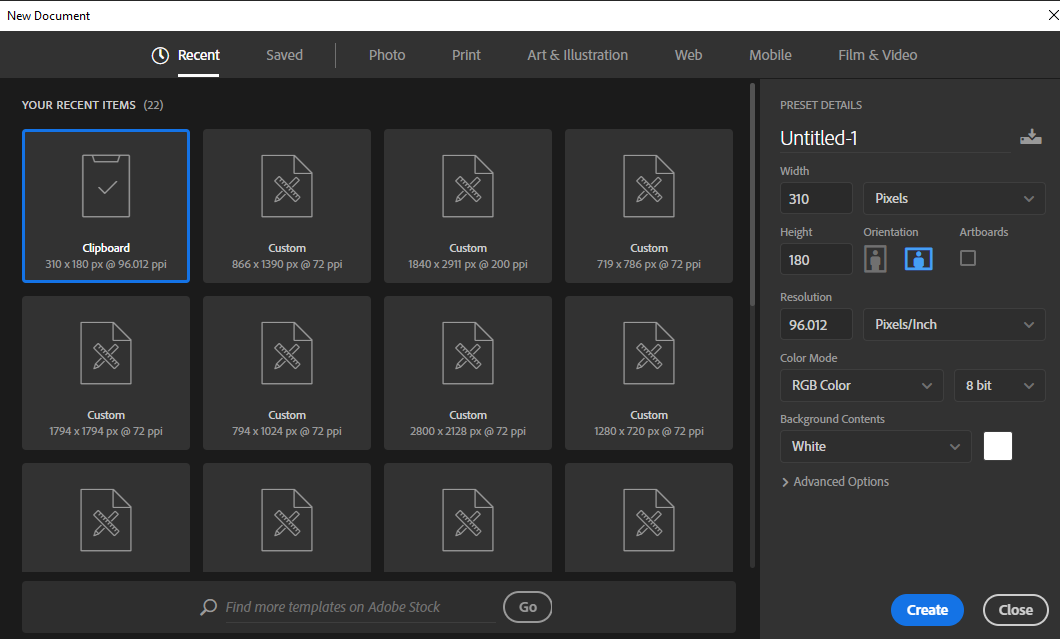
The New Document: Setting the Foundation
Units: Always set to Inches for physical tattoo placement.
Sizes: Small (4x4 in), Medium (6x8 in), Large (8x11 in).
Orientation: Portrait for arms/legs, Landscape for chest/back.
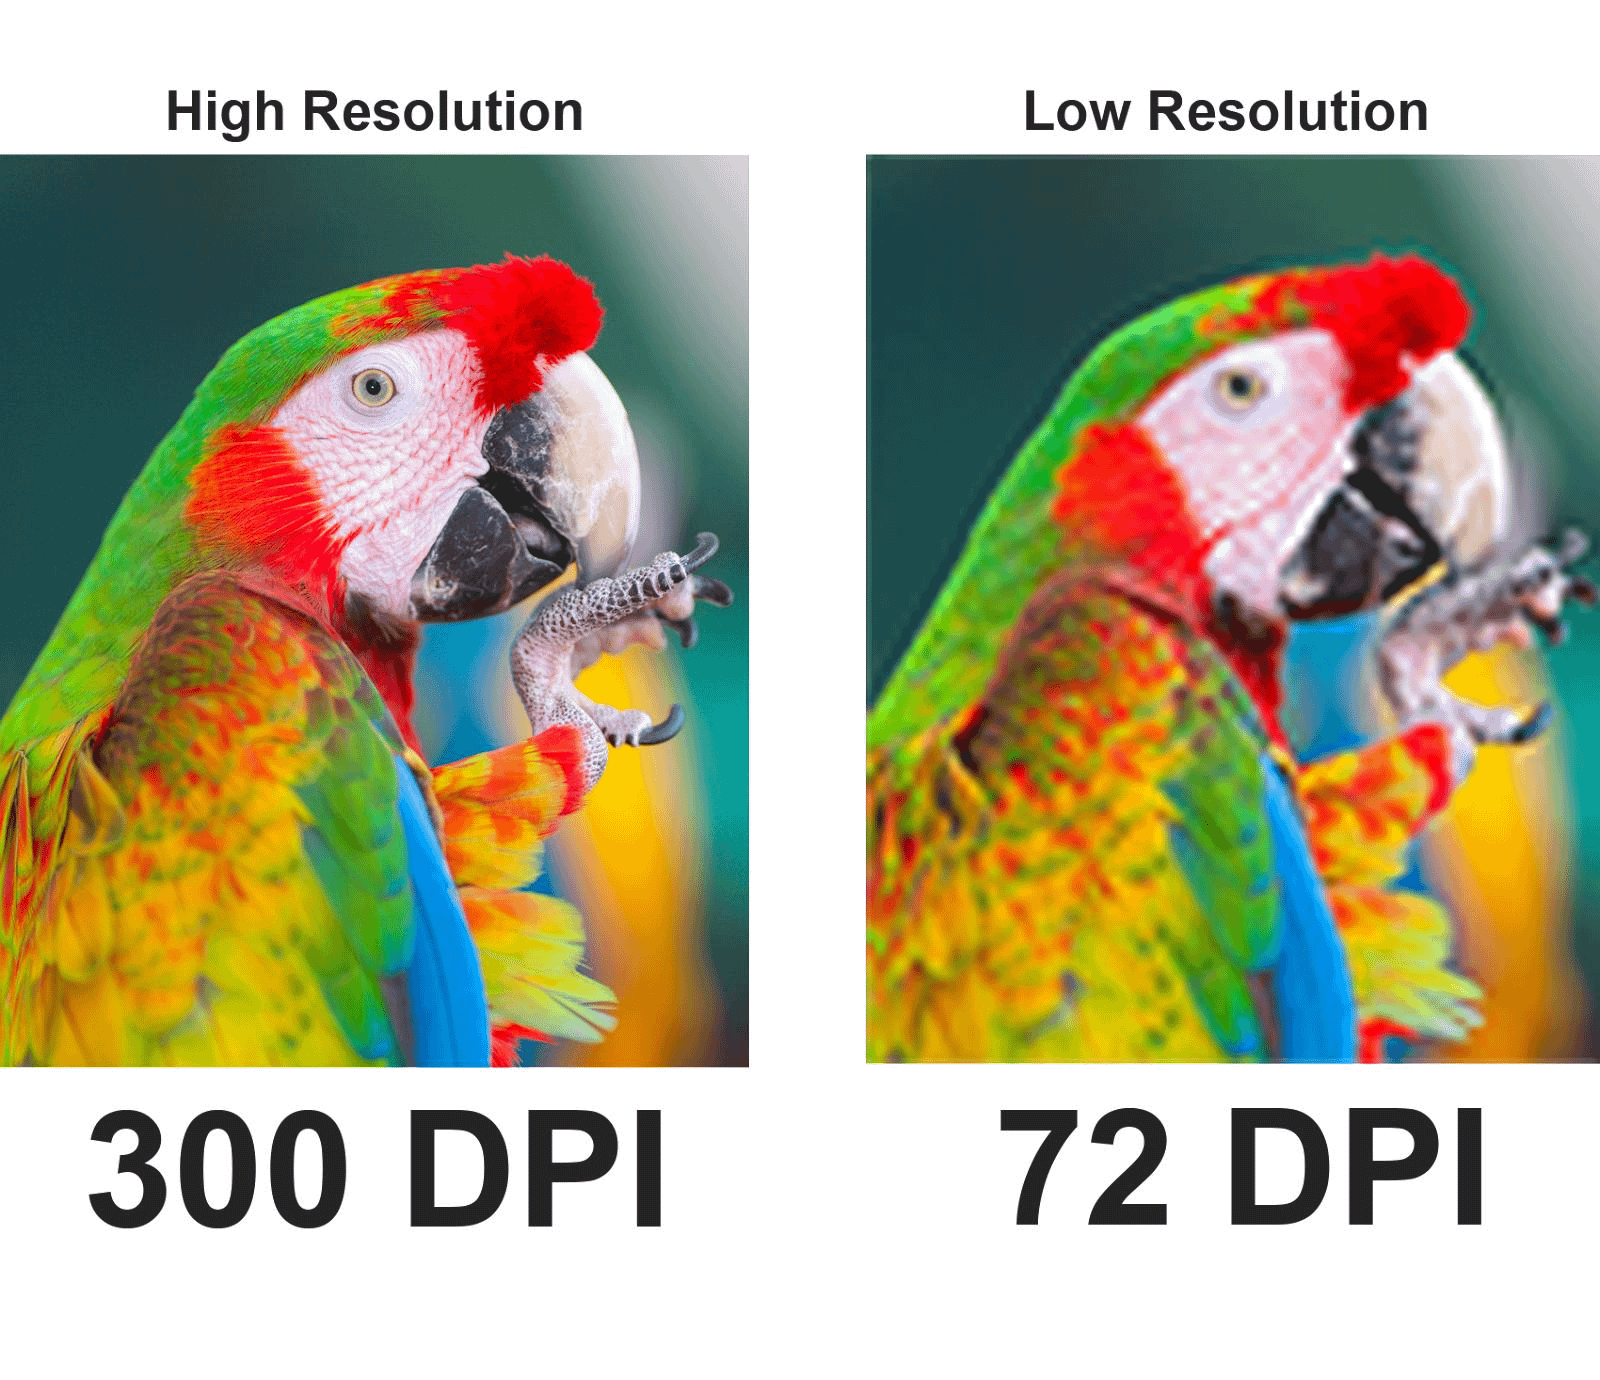
Resolution & Color Mode
Resolution: 300 PPI (Pixels Per Inch). Use 300 for sharp details and clean stencils. Never use 72 PPI.
Color Mode: RGB Color (8 bit). Best for digital design, client previews, and social media.
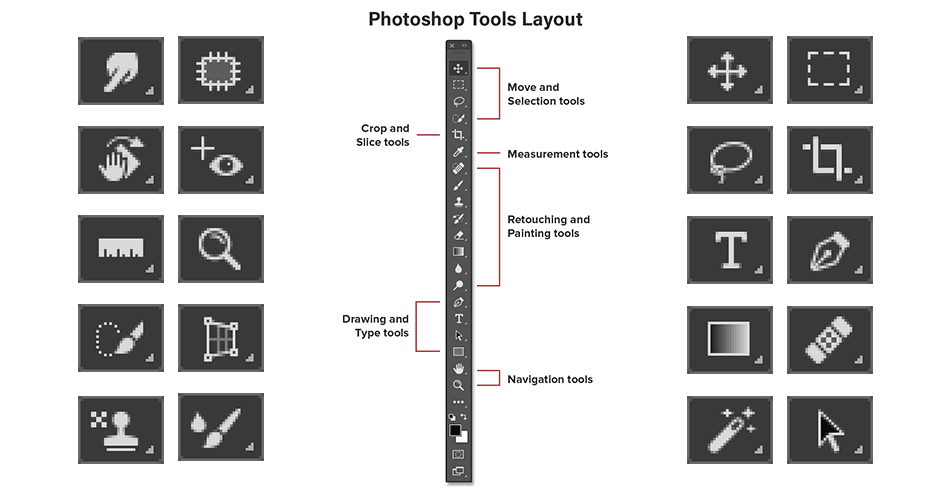
Toolbar Essentials: Selection
Move Tool (V): Moves layers using drag-and-drop. Always check your selected layer first.
Marquee Tool (M): Selects strict squares or circles. Good for borders.
Lasso Tool (L): Freehand selection suitable for organic shapes and tattoos.
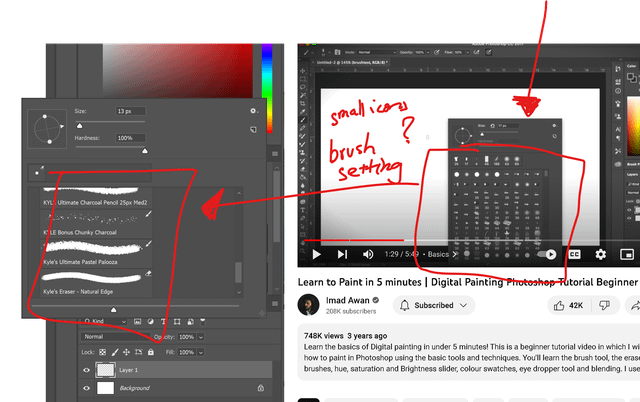
Creation Tools: Brush & Eraser
Brush Tool (B): The artist's main tool. Used for sketching, shading, and linework. Adjust Size and Hardness regularly.
Eraser Tool (E): Permanently removes pixels on raster layers. Be careful—deletions are final.
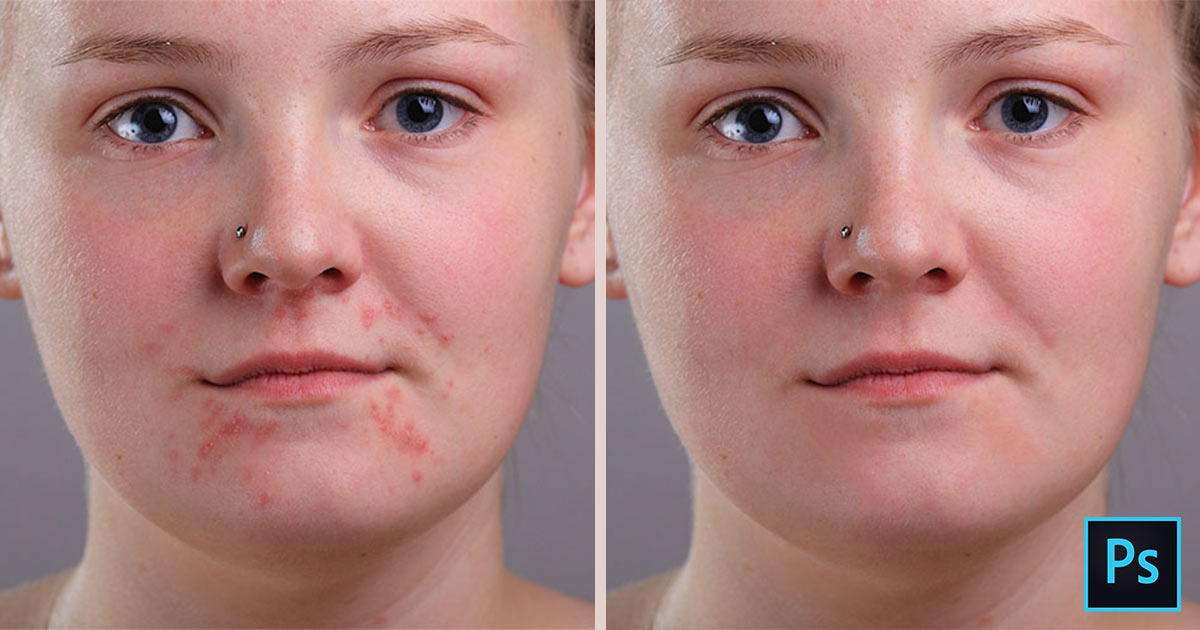
Retouching: Healing & Corrections
Healing Brush (J): Removes dust, skin spots, or unwanted marks. Essential for photo realism cleanup.
Clone Stamp (S): Copies one area and paints it exactly over another. Used for detailed reconstruction.
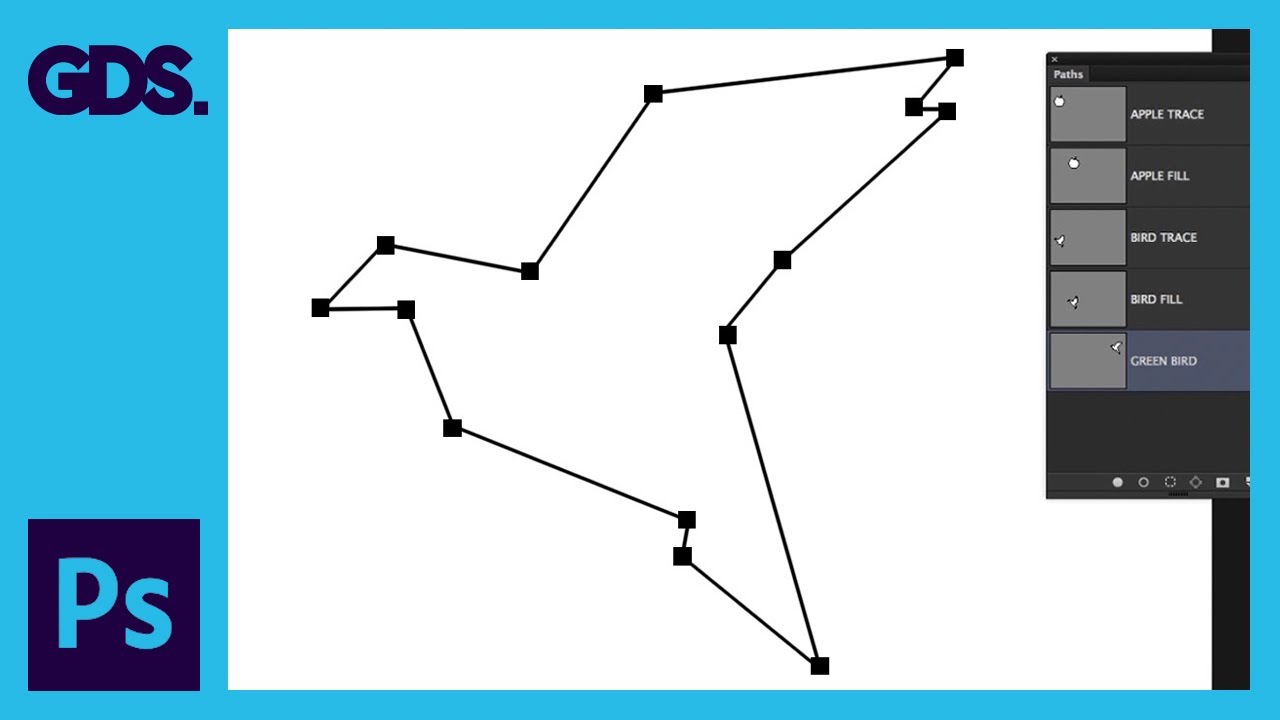
Precision Tools: Pen & Type
Pen Tool (P): Creates Paths. Best for incredibly clean outlines, vector shapes, and precise selections.
Type Tool (T): Adds text layers. Crucial for lettering tattoos, posters, and mockups.
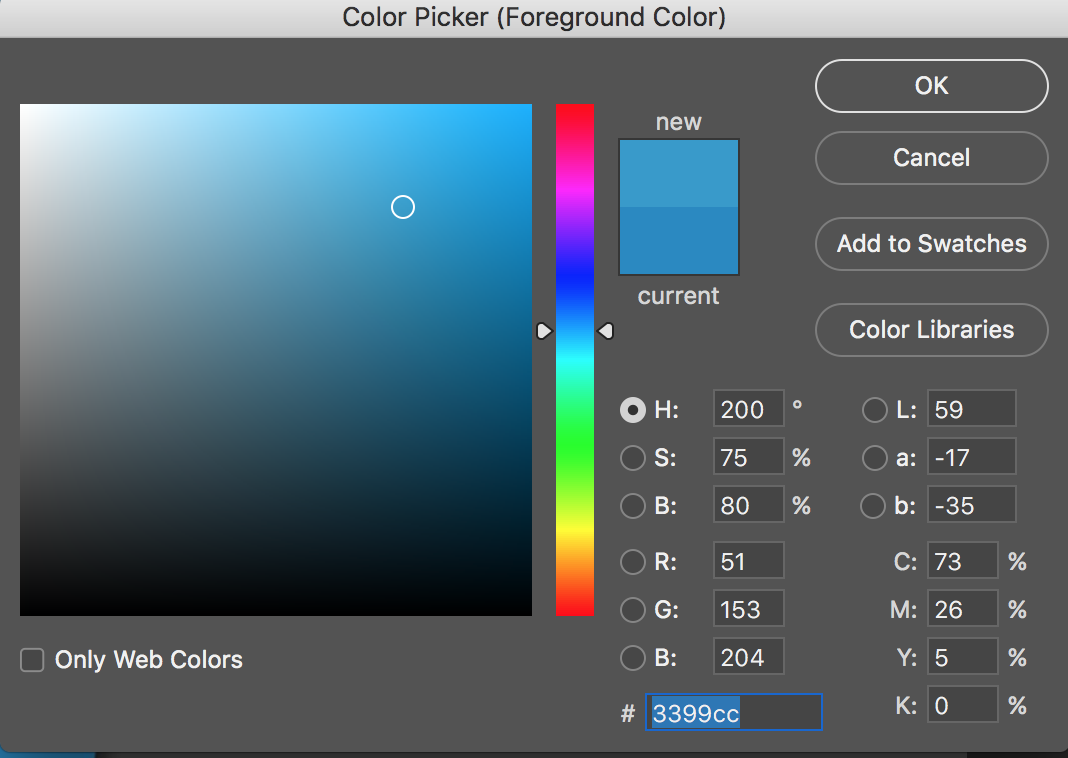
Mastering the Color Panel
Color Picker: Big square for Saturation/Brightness. Vertical bar for Hue (Color).
Foreground/Background: Top box is your active brush color. Press 'X' to swap instantly.
Swatches: Save your colors here to keep designs consistent.
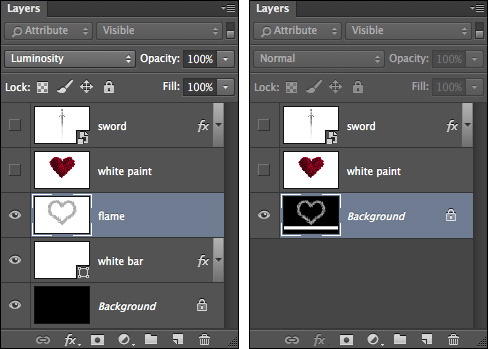
The Layers Panel
Concept: Imagine transparent sheets stacked on top of each other. Keep edits separate (Line work, Shading, Sketch).
Controls: 'Eye Icon' toggles visibility. 'Lock' prevents mistakes. 'Opacity' controls transparency.
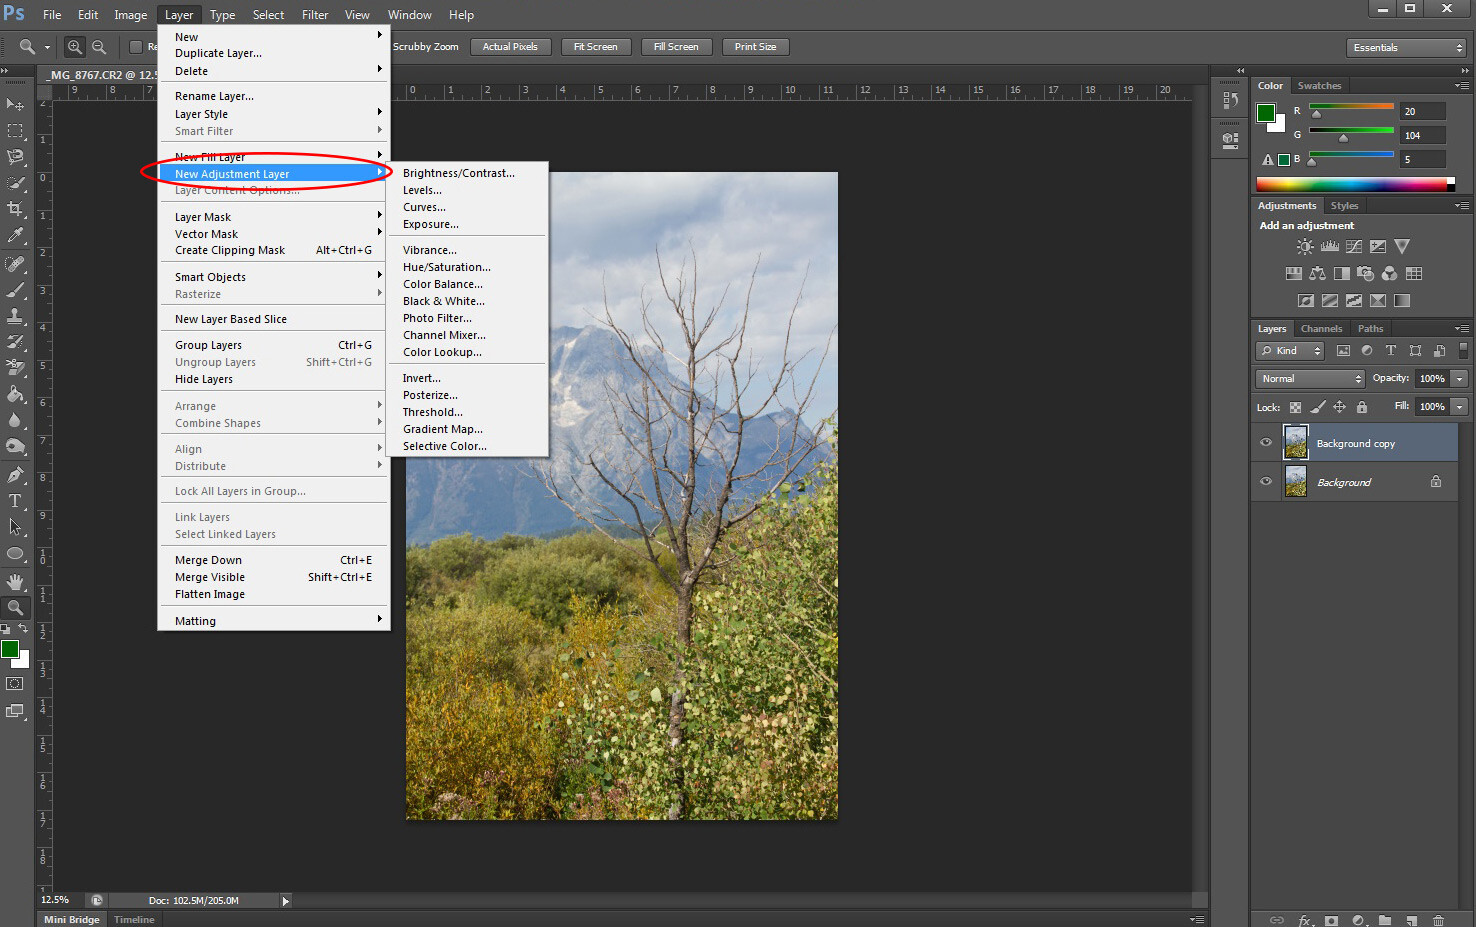
Non-Destructive Editing: Adjustments
Golden Rule: Always use Adjustment Layers instead of painting directly on the image.
Key Tools: Levels (Contrast check), Hue/Saturation (Color intensity), Color Balance (Warmth/Coolness).
Final Checklist for Tattoo Design
Units in Inches?
Resolution 300 PPI?
Color Mode RGB?
Layers Organized?
Background White?
- photoshop-tutorial
- tattoo-design
- digital-art
- tattoo-stencil
- graphic-design-basics
- adobe-photoshop