


How to Create a Segmented Strategy Triangle in PowerPoint
Learn how to build a professional Partnership Strategy Triangle graphic in PowerPoint using shape merging, gradients, and custom silhouettes.
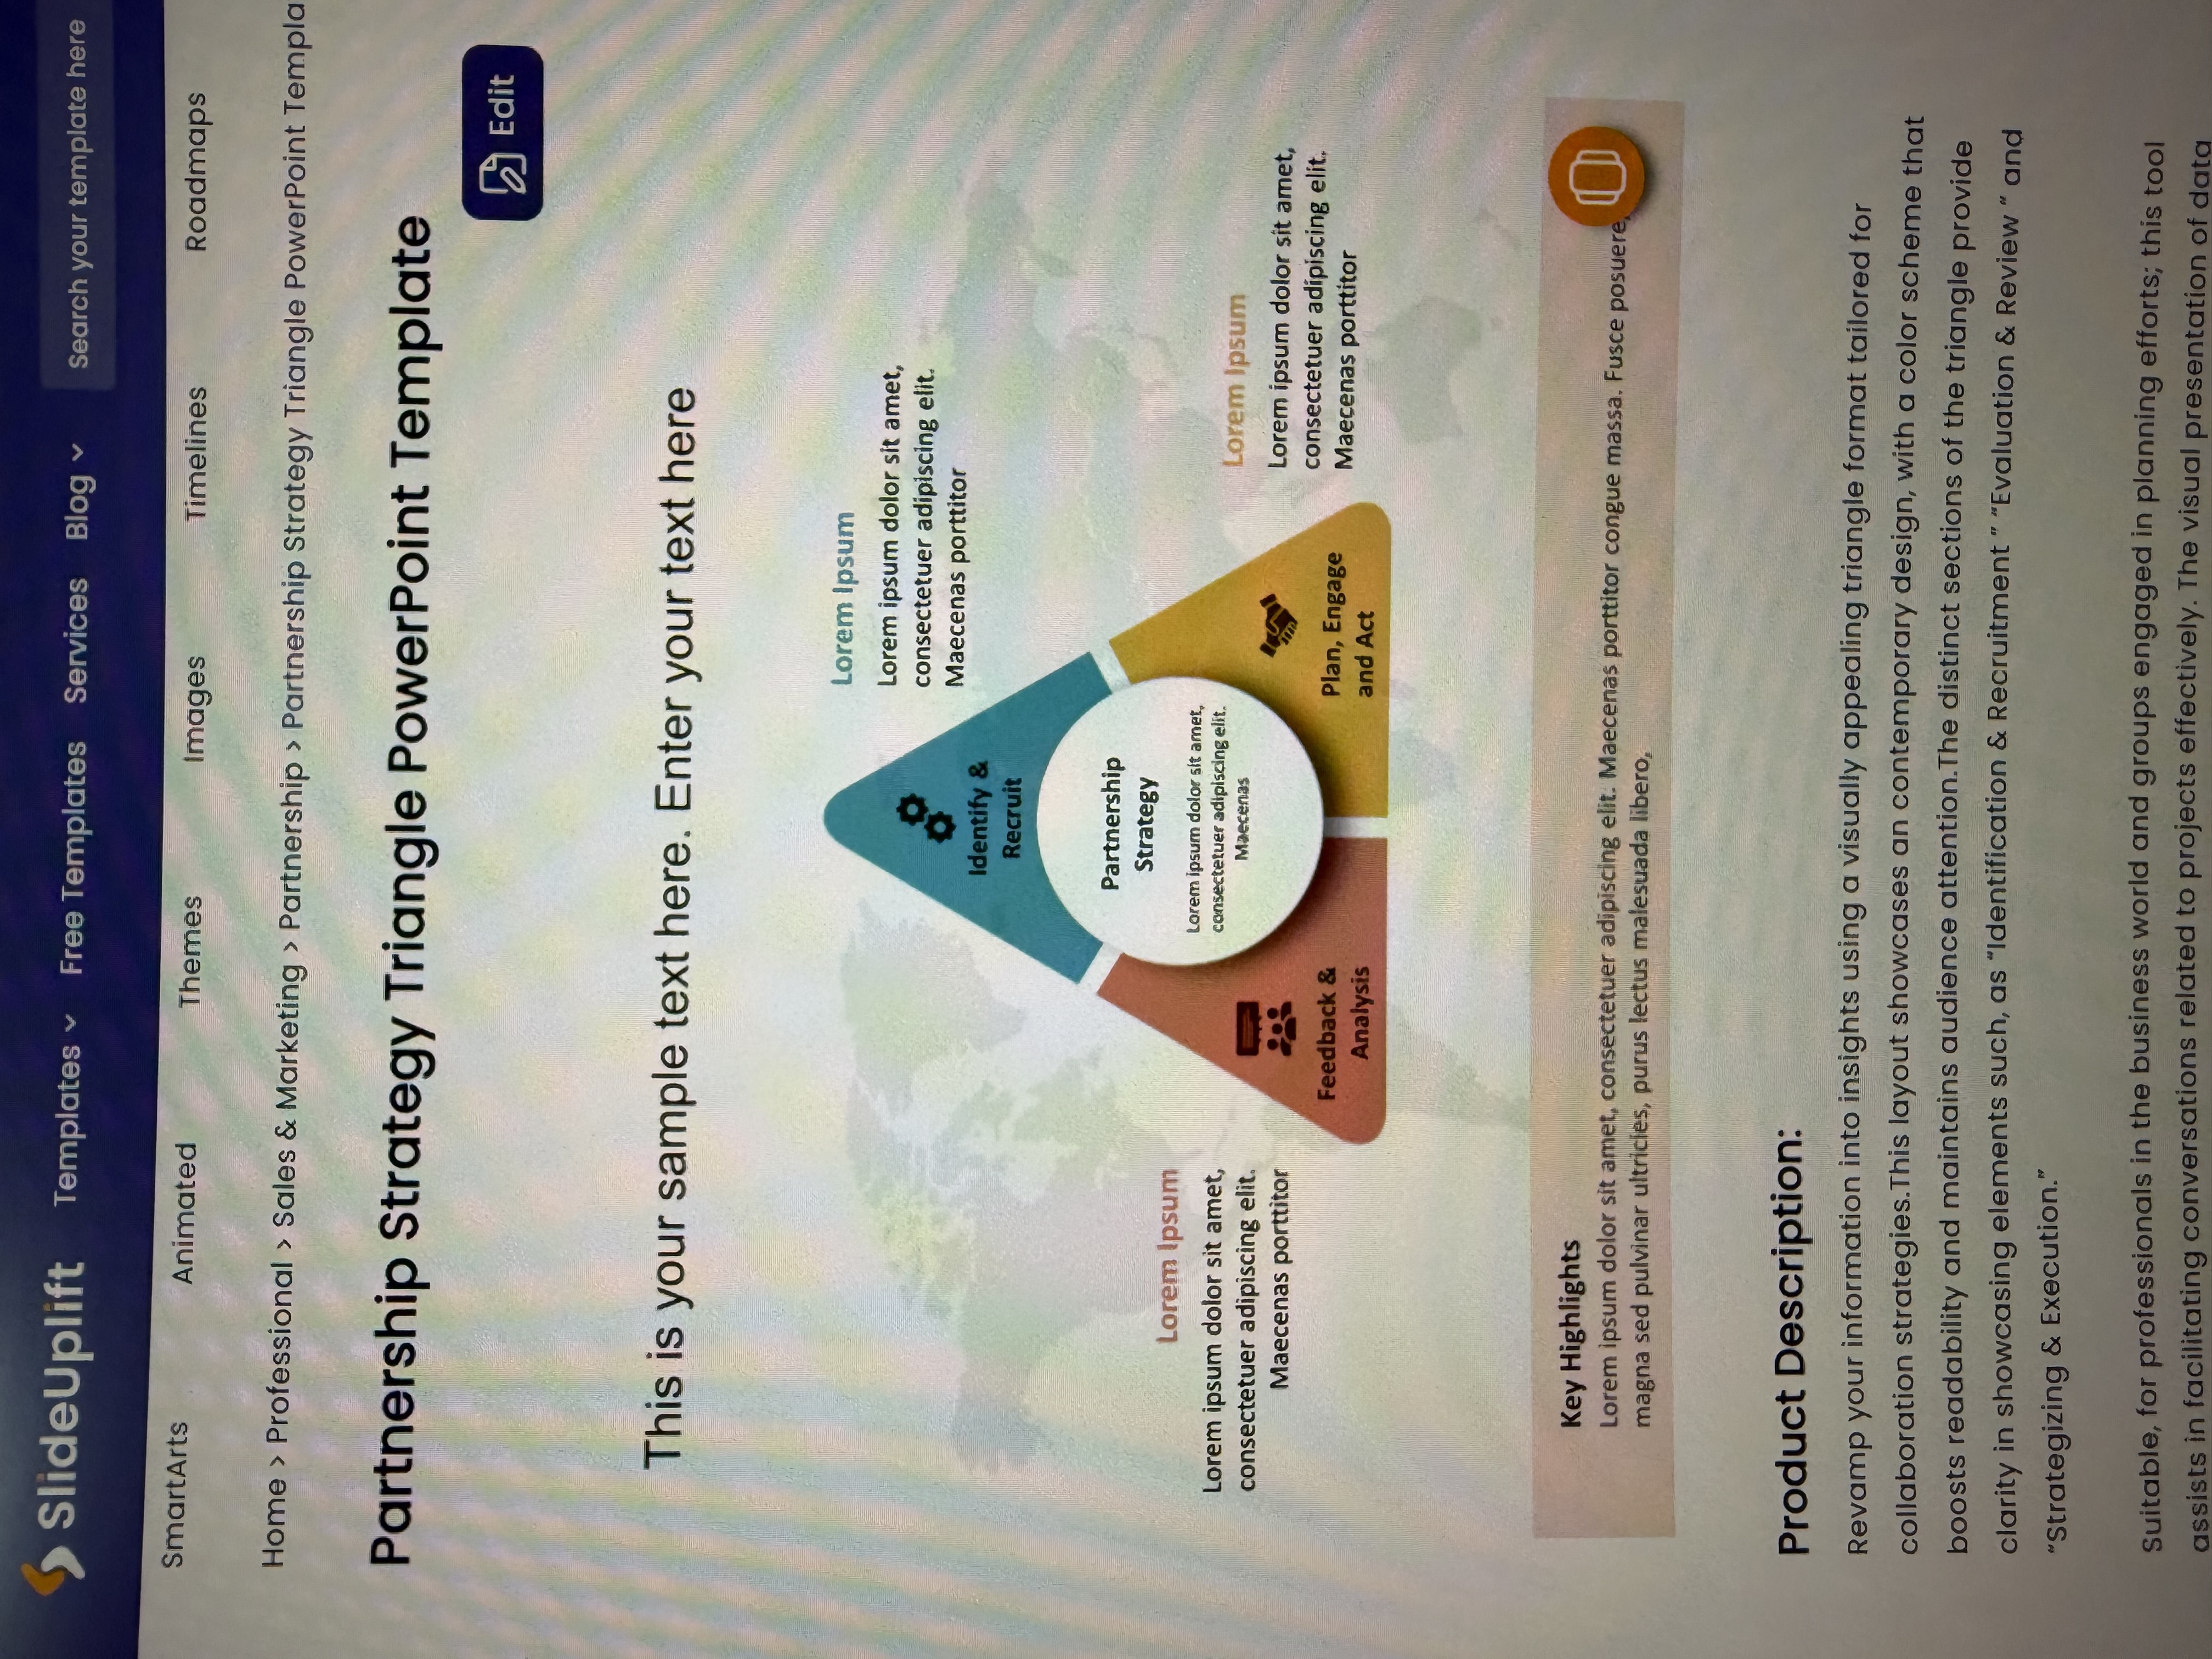
Recreating the Partnership Strategy Triangle
A step-by-step PowerPoint tutorial to build a segmented corporate graphic.
Analyzing the Source Material
• Shape Structure: Rounded triangle with a central circular cutout.<br>• Segmentation: Three distinct sections divided by gaps.<br>• Color Palette: Teal, Mustard Yellow, and Rust Red.<br>• Style: Soft gradients and subtle drop shadows.
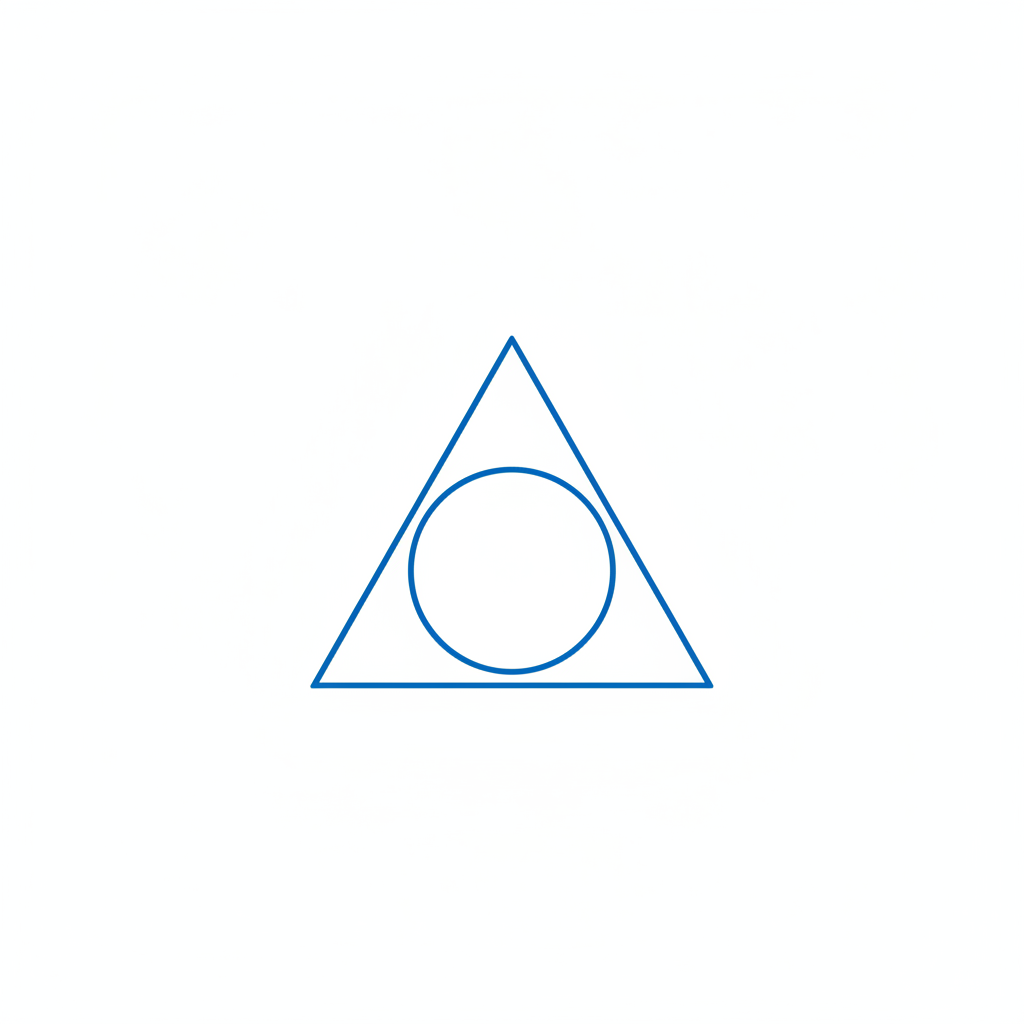
Step 1: Set Up Base Shapes
1. Insert an Isosceles or Equilateral Triangle.<br>2. Insert a perfect Circle (hold Shift while dragging).<br>3. Use 'Align Center' and 'Align Middle' to position the circle exactly in the center of the triangle.
Step 2: Draw Cutting Lines
To split the triangle into three equal segments:<br><br>• Draw a line from the center of the circle to the top vertex.<br>• Draw lines from the center to the bottom-left and bottom-right vertices.<br>• Ensure lines extend beyond the triangle's edges.
Critical Tool: Merge Shapes
We will use the <b>Fragment</b> command.<br><br>1. Select the Triangle first.<br>2. Hold Shift and select the Circle and the 3 Lines.<br>3. Go to <b>Shape Format > Merge Shapes > Fragment</b>.<br><br>This breaks the graphic into individual editable pieces.
Step 3: Cleanup & Separation
After fragmenting:<br>1. Delete the central circle pieces.<br>2. Delete the line remnants.<br>3. You now have three separate trapezoid-like shapes.<br>4. (Optional) Group them temporarily to resize or move.
Step 4: Applying Corporate Colors
Match the colors from the reference image:<br><br><b>Sector 1 (Left):</b> Teal / Cyan (#2A7C86)<br><b>Sector 2 (Right):</b> Mustard / Gold (#D4A900)<br><b>Sector 3 (Bottom):</b> Rust / Terracotta (#A54837)<br><br>Remove the shape outline (Set Shape Outline to 'No Outline').
Step 5: Visual Styling (Depth)
To achieve the 3D look without animation:<br><br>• <b>Gradient Fill:</b> Change solid fill to 'Linear Gradient' for each segment. Use a slightly lighter shade on one end to create curvature.<br>• <b>Shadow:</b> Add an 'Outer Shadow' (Offset Center) with Blur: 10pt and Transparency: 60%.<br>• <b>White Borders:</b> Add a thick white outline (3pt-6pt) to separate the segments cleanly.
Step 6: Adding the Center Shield
1. Insert a new Circle shape in the center.<br>2. Fill with White.<br>3. Add a soft shadow to lift it off the triangle.<br>4. Add your central text (e.g., "Partnership Strategy").<br>5. Place icons on the three colored segments.
Final Result & Best Practices
• <b>Contrast is Key:</b> Use white text on the dark segments for readability.<br>• <b>Grouping:</b> Always Group (Ctrl+G) your final graphic to resize it easily without breaking alignment.<br>• <b>Icons:</b> Use simple white SVG icons for a modern look.<br>• <b>Consistency:</b> Ensure the rotation of text matches the segment if needed, or keep it horizontal for easier reading.
- powerpoint-tutorial
- business-graphics
- presentation-design
- strategy-triangle
- corporate-deck
- merge-shapes
- graphic-design